



Calibration Guide
Important steps to make a proper ice bath
IMPORTANT! Read instructions carefully to determine your thermometer's accuracy specifications.

1. Fill Cup with Ice
Fill the cup to the top with ice. Crushed ice works best due to the smaller spaces between the ice crystals.

2. Add Water to Cup
Fill the cup with water until it is about 1/2 inch below the top of the ice. Ensure that the ice is resting on the bottom of the cup and not floating. If the ice is floating, pour off some water and add more ice.
CAUTION: The water underneath the ice will not be at 32°F (0°C).

3. Insert Probe, Slowly Stir
Stir the thermometer probe in the center of the ice bath and allow time for the sensor to stabilize for an accurate temperature reading.
**IMPORTANT:** Continue stirring the probe while measuring.
To ensure better accuracy, keep the probe tip away from the sides and bottom of the cup.

4. Calibrate
When placed in an ice bath, your thermometer should read 32°F (0°C). Before making any adjustments to the thermometer, consult the instruction manual. However, first, check that the readings fall within the manufacturer's accuracy specifications. If the readings are within the specified tolerance, do not adjust the thermometer's temperature reading!
Note: Many instant-read thermometers have a built-in calibration feature.
Temperature Zones
212°F: Water boils at sea level
180°F - 195°F: Required for non-chemical sanitizing dishwashers
165°F: Most bacteria killed
Recommended internal temperature:
Eggs at least 155°F
Pork at least 160°F
Beef: ground, medium well at least 160°F
Beef: ground, well 170°F
Poultry 170°F
Temperature Zones
212°F: Water boils at sea level
180°F - 195°F: Required for non-chemical sanitizing dishwashers
165°F: Most bacteria killed
Recommended internal temperature:
Eggs at least 155°F
Pork at least 160°F
Beef: ground, medium well at least 160°F
Beef: ground, well 170°F
Poultry 170°F
Danger Zone 41°-135°F
135°F: Minimum hot-holding temperature, including ready-to-eat and buffet style
120°F: Minimum hot water temperature in a food facility
41°F: Maximum cold holding temperature
41°F Thaw frozen foods at this temperature
Danger Zone 41°-135°F
135°F: Minimum hot-holding temperature, including ready-to-eat and buffet style
120°F: Minimum hot water temperature in a food facility
41°F: Maximum cold holding temperature
41°F Thaw frozen foods at this temperature
Cold Temperature Zones
35-41°F Set refrigerator temperature to insure proper food temperature
32°F Water freezes
0°F Store frozen food below
Cold Temperature Zones
35-41°F Set refrigerator temperature to insure proper food temperature
32°F Water freezes
0°F Store frozen food below
Food Handling Guidelines
- To ensure food safety, keep cold foods at or below 41°F and hot foods at or above 135°F. When cooling potentially hazardous hot foods, it is essential to cool them quickly:
- Cool from 135°F to 70°F within 2 hours.
- Cool from 70°F to 41°F within 4 hours. - To facilitate the cooling process, use shallow pans with a maximum product depth of 2 inches. Place the food in the refrigerator uncovered or loosely covered during cooling.
- Avoid defrosting food at room temperature. Instead, use one of the following methods: a refrigerator, continuously running cold water, a microwave, or cooking directly from the frozen state. Any frozen food that has been thawed should be cooked or otherwise processed before it can be refrozen.
- Cook foods to the proper internal temperature. Use a metal probe thermometer to ensure that food is thoroughly cooked.
- Wash your hands thoroughly with hot, soapy water for at least 20 seconds before and after handling food.
- Avoid handling food if you are ill, have a skin infection, or have cuts on your hands.
- Never cross-contaminate by transferring raw food to cooked products.
- Wash, rinse, and sanitize cutting boards and knives after each use.
- Reheat leftovers to an internal temperature of 165°F or higher. Stir constantly to ensure even cooking, or microwave them to 195°F. Do not reheat leftovers more than once.
- Keep kitchens, dining areas, and storage rooms free from insects and rodents. Store chemicals away from food.
- Reheat leftovers to 165°F internal temperature or higher, stirring constantly to cook evenly, or microwave to 195°F. Never reheat leftovers more than once.
- Keep kitchens, dining areas and storage rooms free from insects and rodents. Store chemicals away from food.
Taylor Weather Products (FAQ):
Welcome to the official FAQ and Troubleshooting Guide for Taylor Food Service Products. We are committed to providing dependable, easy-to-use food service measurement solutions designed to support food safety, temperature monitoring, and consistent results in professional food service environments. This guide provides clear, helpful answers to common questions, product operation guidance, and troubleshooting support to help you get the most out of your Taylor products.
Commercial Kitchen Thermometers
How do I calibrate a Taylor probe thermometer using the ice point method?
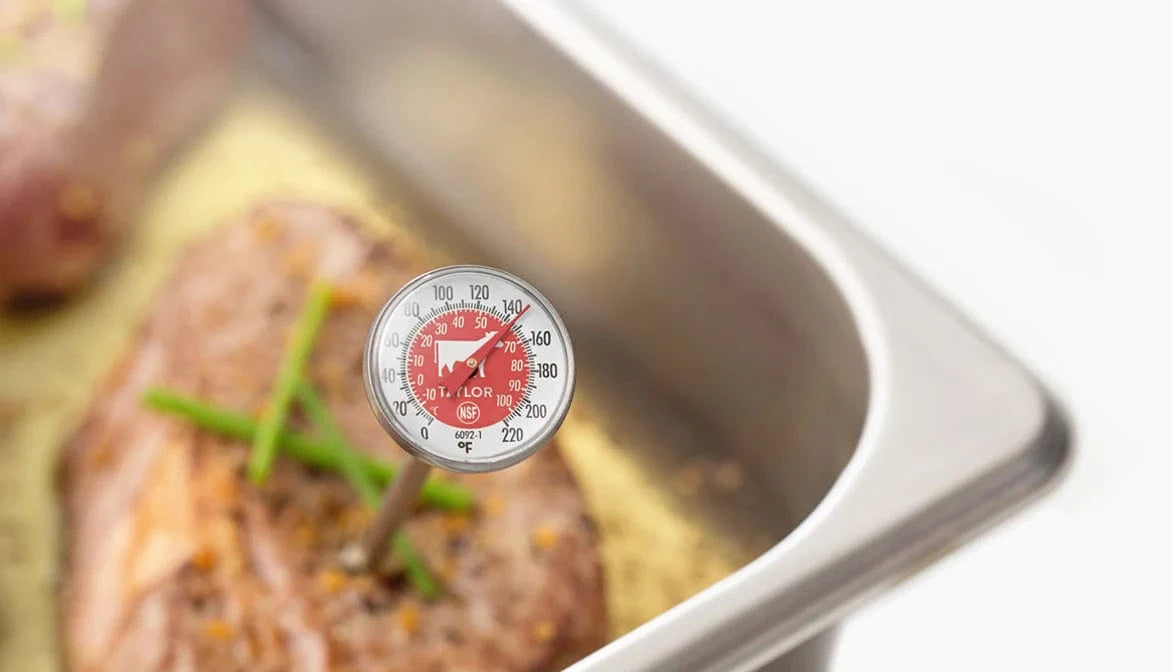
To calibrate a Taylor pocket dial thermometer (e.g., Taylor 6072 or 6092N):
- Fill a container with crushed ice then add cold water (distilled water is best) to just below the top of the ice (ice should not float); stir thoroughly and let sit for 3 minutes to reach 32°F (0°C).
- Insert the thermometer stem into the slush solution at least 2 inches, ensuring it’s fully submerged without touching the bottom or sides.
- Wait 30 seconds until the pointer stops moving.
- If the dial does not read 32°F (0°C), keep the probe submerged, attach the adjustment wrench (usually built into the protective sheath clip) to the calibration nut behind the dial, and rotate the dial head until the pointer aligns precisely with 32°F (0°C).
What is the response time for Taylor commercial digital thermometers?
Taylor instant-read digital thermometers deliver readings in 2 to 6 seconds depending on the probe technology (thermistor vs. thermocouple). Thin-tip models feature a reduced-tip diameter designed specifically for fast response in thin cuts of meat or delicate items.
How do I clean and sanitize Taylor food thermometers?
Sanitize stems before and after every temperature measurement:
- Wipe the stainless steel probe with an alcohol swab or an NSF-approved food contact sanitizer wipe.
- For waterproof probe handles (IPX5/IPX7 rated), wash with mild dish detergent and hot water. Do not submerge non-waterproof digital heads or dial faces unless explicitly rated IPX7 or higher.
- Never place digital thermometers in a commercial dishwasher unless the model specifies dishwasher-safe status (e.g., Taylor waterproof pocket thermometers with sealed gaskets).
What is the difference between thermistor, thermocouple, and infrared thermometers?
Thermistor Digital: Delivers measurement results in 3 to 6 seconds for general cooking operations, routine line checks, product receiving, and steam table verification. Thermocouple: Provides rapid 1 to 3 second response times for high-speed line inspections, thin meats, deep frying, and ultra-precise monitoring. Infrared (IR) Non-Contact: Yields instant surface readings for non-destructive receiving inspections and hot holding equipment monitoring.
Commercial Kitchen Scales
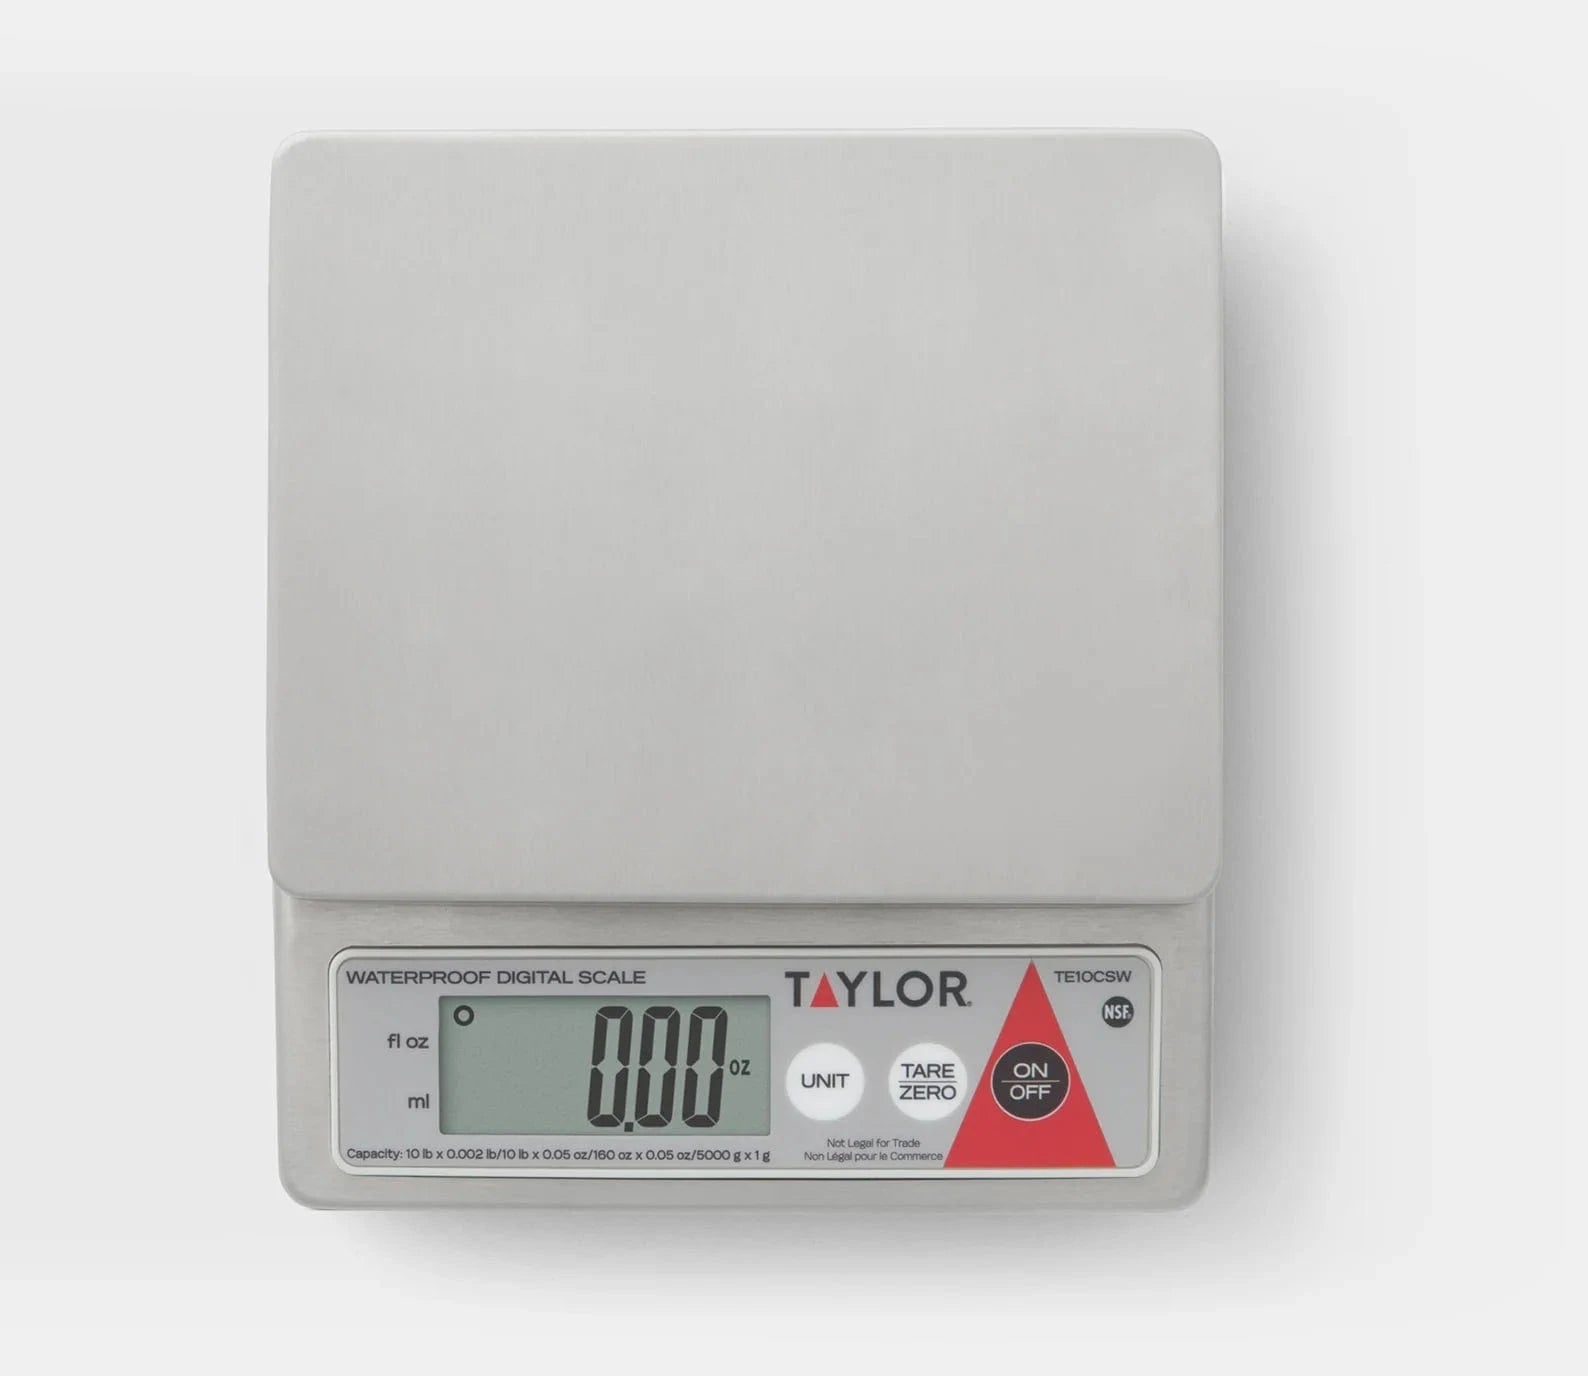
How do I calibrate a Taylor digital scale?
To perform field calibration on a Taylor digital receiving or portion control scale follow the calibration instructions found in the instruction manual. Calibration varies by model.
Are Taylor kitchen scales waterproof or washable?
Taylor offers scales engineered for specific moisture environments:
- Washdown / Waterproof Scales (IPX7/IPX5 rated): Models like the Taylor TE10SSW are fully seal-gasketed and can be sprayed down.
- Standard Digital Scales (IPX4/Unrated): Clean by wiping the stainless steel platform (which is removable for sink cleaning) with a damp cloth. Never submerge the digital body or base.
- Mechanical Portion Scales: Feature stainless steel bodies and rust-resistant internal springs that withstand heavy damp-wipe cleaning.
What is the Tare function on Taylor scales, and how is it used?
The Tare (or Zero) feature subtracts the weight of a container, plate, or pan so only the food item's net weight is displayed:
- Place the empty container or pan on the scale platform.
- Press the TARE button. The readout resets to 0.0 oz or 0.0 g.
- Add food items into the container to measure exact portion weight.
How do I switch between pounds, ounces, kilograms, and grams on a Taylor digital scale?
Press the UNIT or MODE button on the front control panel to toggle between lb:oz, oz, g, and kg.
Commercial Kitchen Timers
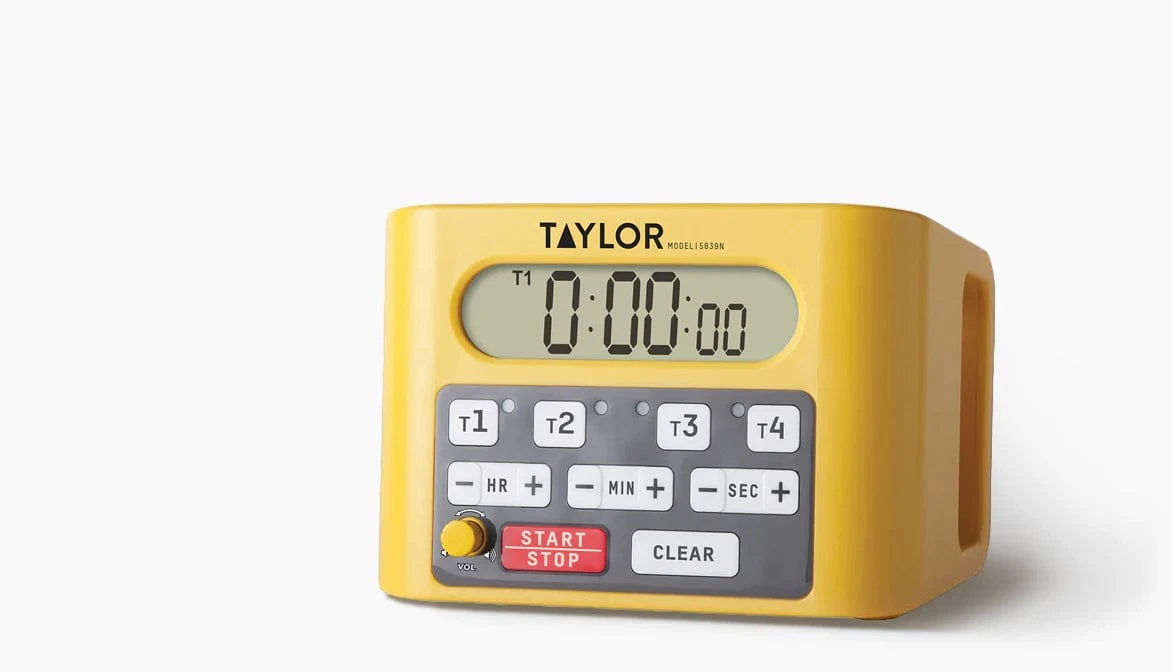
How do I reset a Taylor digital timer?
To clear a timer back to 00:00:00, pause the timer by pressing START/STOP, then press both the MIN and SEC buttons simultaneously (or press the dedicated CLEAR button depending on the model).
Why is my Taylor digital thermometer displaying "ERR", "LLL", or "HHH"?
- "LLL" (Low): The measured temperature is below the unit's minimum temperature range (e.g., below -58°F/-50°C) or the probe circuit is open/damaged.
- "HHH" (High): The measured temperature exceeds the maximum limit (e.g., above 572°F/300°C) or the probe wire has suffered thermal damage.
- "ERR": Indicates an internal microprocessor fault or low battery voltage. Replace the battery with a fresh coin cell (e.g., CR2032 or LR44) or AAA battery, verify clean contact points, and recalibrate.
How do I replace the battery in Taylor digital thermometers and scales?
- Thermometers: Locate the battery door on the back or top of the housing. Use a coin or small screwdriver to open. Insert the correct battery type (commonly CR2032 or LR44) with positive (+) side facing up.
- Scales: Flip the scale over, open the battery compartment, and replace with standard AA, AAA, or 9V batteries, or connect the AC adapter for continuous power.